Is there anything more comforting than a warm, soft chocolate chip cookie fresh out of the oven? We don’t think so. Especially when it’s based on the original Nestles chocolate chip cookie recipe, also known as the iconic Toll House cookie. This classic has been passed down through generations, and for good reason—it’s easy, it’s nostalgic, and it always hits the spot.
In this in-depth guide, we’ll cover everything from the history of the Nestlé Toll House cookie, to step-by-step baking instructions, ingredient tips, pro hacks, and creative variations. You’ll also get answers to the most common questions like “Why do my cookies go flat?” and “Should I chill the dough first?”
By the end, you’ll not only have the perfect Nestlé’s chocolate chip cookie recipe, but you’ll also understand the why behind every delicious detail. So let’s jump into the story behind this legendary treat!
Table of Contents
The Legacy of Nestlé Toll House Cookies
A Sweet History: The Birth of the Toll House Cookie
Believe it or not, the Nestlé’s chocolate chip cookie recipe began with a happy accident in the 1930s. Ruth Wakefield, who ran the Toll House Inn in Whitman, Massachusetts, ran out of baker’s chocolate one day. So, she chopped up a Nestlé semi-sweet chocolate bar, hoping it would melt into the dough. Spoiler alert—it didn’t. Instead, the chocolate softened into gooey chunks, creating the first-ever chocolate chip cookie.
The cookies were an instant hit with guests. As word spread, Nestlé took notice. They struck a deal with Ruth Wakefield: Nestlé would print her recipe on their packaging, and in return, she’d get a lifetime supply of chocolate. A sweet deal, right?
Soon after, Nestlé semi-sweet morsels were born, and the Toll House cookie became a household staple across America. Even today, the original Nestlé chocolate chip cookies are printed on every bag of chips, winning hearts and taste buds for nearly a century.

Why the Nestlé’s Chocolate Chip Cookie Recipe Became a Staple
So why does this cookie recipe still reign supreme? It’s all about balance. The perfect Nestlé’s chocolate chip cookie recipe has crispy edges, a chewy middle, and just the right amount of sweetness. It’s familiar. It’s foolproof. And most importantly—it’s ridiculously delicious.
Plus, it’s endlessly customizable. Want them chewy? Use more brown sugar. Craving a crispier bite? Add a touch more butter. No wonder it’s the gold standard among homemade chocolate chip cookies.
Over the decades, it’s become more than just a recipe—it’s a baking tradition. Whether you’re a first-timer or a seasoned baker, this is one cookie that always delivers.
Ingredients That Make Nestlé Cookies So Iconic
The Perfect Chocolate Chip Combo
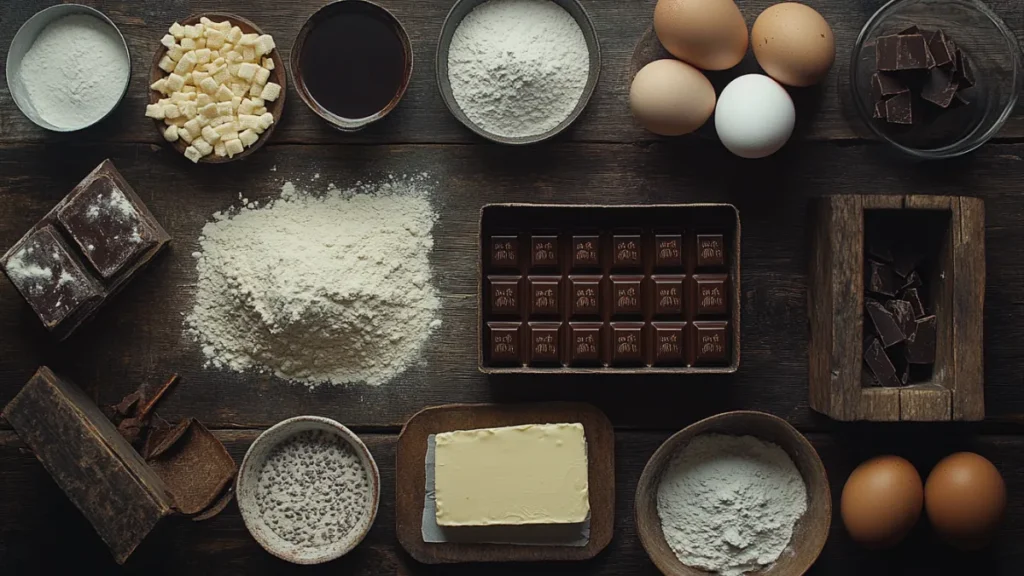
The magic of the Nestlé’s chocolate chip cookie recipe lies in its simplicity—and its ingredients. While many cookie recipes have been invented over the decades, this classic still holds up because it nails the basics.
Here’s what you need:
- All-purpose flour – Provides structure and chew.
- Butter – Unsalted and softened to room temperature. For richness and that melt-in-your-mouth texture.
- Brown sugar + white sugar – A perfect balance for flavor and moisture.
- Eggs + vanilla extract – To bind the dough and enhance the sweet notes.
- Nestlé semi-sweet morsels – The star of the show. These chocolate chips melt just enough for gooey goodness.

And don’t forget a pinch of baking soda and salt. They help with leavening and flavor contrast.
What makes this ingredient list iconic isn’t that it’s fancy—it’s that it just works. Every element is balanced, and nothing is unnecessary.
🍪 Craving a single-serving cookie instead? Try this Single Cookie Recipe from RecipeKook—it’s the perfect portion when you want a quick sweet fix!
Why Quality Butter and Sugar Matter
Now, let’s talk quality. Using premium butter can elevate your homemade chocolate chip cookies from average to bakery-worthy. It gives a rich flavor and ensures the cookies don’t dry out.
The same goes for sugar. Brown sugar has molasses, which adds chewiness and depth. So don’t skip or swap randomly—stick close to the original nestles chocolate chip cookie recipe to capture that nostalgic, golden-baked perfection.
Step-by-Step Nestlé’s Chocolate Chip Cookie Recipe
Mixing the Dough: Tips for Texture and Flavor
Alright, let’s get baking! Making the nestles chocolate chip cookie recipe isn’t just about following steps—it’s about nailing the details.
Here’s how to do it right:
- Cream butter and sugars
In a large bowl, cream 1 cup of softened butter with ¾ cup granulated sugar and ¾ cup brown sugar. Mix until it’s light and fluffy—about 2–3 minutes. - Add wet ingredients
Mix in 2 large eggs, one at a time, followed by 1 teaspoon of vanilla extract. Don’t overmix! - Combine dry ingredients
In a separate bowl, whisk together 2¼ cups flour, 1 teaspoon baking soda, and 1 teaspoon salt. - Bring it all together
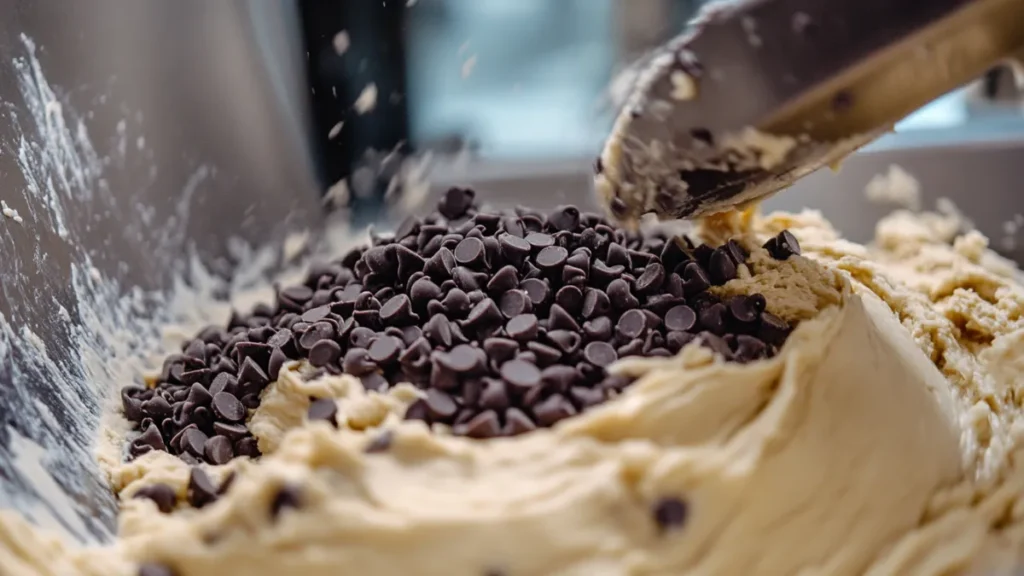
Gradually mix the dry ingredients into the wet until a dough forms. Stir in 2 cups of Nestlé semi-sweet morsels.

Pro tip: For added texture, toss in a ½ cup of chopped walnuts or pecans!
Baking Like a Pro: Time, Temp, and Tray Setup
Now that the dough’s ready, it’s time to bake those golden beauties.
Follow these steps:
- Preheat your oven to 375°F (190°C).
- Line a baking sheet with parchment paper or a silicone mat.
- Drop rounded tablespoons of dough about 2 inches apart.
- Bake for 9–11 minutes, or until the edges are lightly browned.
The centers will look slightly underbaked—that’s exactly what you want. As they cool, they firm up into the chewy chocolate chip cookies everyone loves.
Let them rest on the baking sheet for 2 minutes, then transfer to a wire rack. Boom—you just made the best version of the nestles chocolate chip cookie recipe!
Common Mistakes and How to Fix Them
Why Do My Nestlé Chocolate Chip Cookies Go Flat?
If your cookies look more like pancakes than puffy golden bites, don’t worry—you’re not alone. This is one of the most common baking questions tied to the nestles chocolate chip cookie recipe.
Here’s why they might go flat:
- Your butter was too soft or melted – Always use room-temperature butter, not liquid.
- You skipped chilling the dough – Even a 15-minute chill can help prevent spread.
- Too little flour – Mismeasuring flour is easy. Spoon it into the cup, don’t scoop!
- Warm baking trays – Using trays from a previous batch? Let them cool before reusing.
Cookies spread when the fat melts before the structure sets. Controlling your dough’s temperature can make a huge difference.
Preventing Overbaking, Undermixing, and Dry Dough
Cookie fails don’t stop at spreading. Sometimes the texture is just… off. Either dry and crumbly or way too doughy.
To avoid this:
- Don’t overmix your dough after adding flour. It can make cookies tough.
- Measure ingredients accurately—especially flour and sugar.
- Set a timer. Even one extra minute in the oven can dry them out.
Remember, the nestles chocolate chip cookie recipe is designed to be chewy and golden, not crunchy or cakey. So if your first batch is off, tweak one variable at a time until you nail it.
Pro Tips to Enhance Your Nestlé Cookie Dough
How to Make Nestlé Cookie Dough Taste Better
You’ve mastered the basics—now it’s time to take your nestles chocolate chip cookie recipe to the next level. A few small upgrades can boost both flavor and texture without changing the core recipe.
Try these simple add-ins:
- A dash of espresso powder – It won’t make your cookies taste like coffee, but it does enhance the chocolate flavor.
- Swirl in a spoon of peanut butter or Nutella – Adds richness and depth.
- Use sea salt flakes on top – A little salt makes the sweetness pop.
- Upgrade your vanilla – Pure vanilla extract (or even vanilla bean paste) brings warmth and aroma.
You don’t have to reinvent the wheel—just polish it!
Should You Refrigerate Toll House Dough Before Baking?
Short answer: Yes.
While not mandatory, chilling the dough—even for 30 minutes—can improve both structure and flavor. It helps the butter firm up, so cookies don’t spread too much in the oven.
Benefits of chilling:
- Richer flavor – Resting allows the flour to absorb moisture more evenly.
- Better texture – You get crisp edges and a thick, soft center.
- Controlled spread – Chilled dough bakes taller and holds shape.
So if you’ve got the time, chill the dough. It’s one of the easiest ways to level up your nestles chocolate chip cookie recipe.
🍪 For more delicious desserts and baking inspiration, check out another sweet recipe article on RecipeKook.
Baking Nestlé Cookies From Dough to Dessert
How Do You Bake Nestlé Chocolate Chip Cookie Dough?
Once your dough is prepped, it’s time to bake—and believe it or not, how you bake it can make or break your cookies. Even if you’ve followed the nestles chocolate chip cookie recipe to a tee, your oven setup matters.
Follow these steps to bake like a pro:
- Preheat your oven to 375°F (190°C) before anything goes in. A fully heated oven helps cookies rise evenly.
- Line your baking sheet with parchment paper or a silicone mat to prevent over-browning.
- Space your dough balls 2 inches apart, especially if you didn’t chill the dough.
Drop tablespoons of dough, or use a cookie scoop for uniform size. Bake for 9–11 minutes, just until the edges are lightly golden. The centers may look soft—but that’s what gives them their iconic chewy texture.
Let cookies sit on the baking sheet for 2 minutes after baking. Then transfer them to a wire rack to cool completely.
Tools, Baking Sheets, and Oven Tricks
Want next-level results? It’s all about the tools.
- Use light-colored baking sheets – They prevent over-baking and keep cookies golden, not brown.
- Avoid overcrowding the oven – Too many trays can mess with airflow and lead to uneven baking.
- Rotate trays halfway through if your oven has hot spots.
And always remember: ovens vary! So keep an eye on your cookies during that final minute. With just a little attention to detail, your nestles chocolate chip cookie recipe will turn out picture-perfect every time.
Creative Variations on the Classic Nestlé Recipe
Add-Ins You’ll Love: Nuts, Caramel, and More
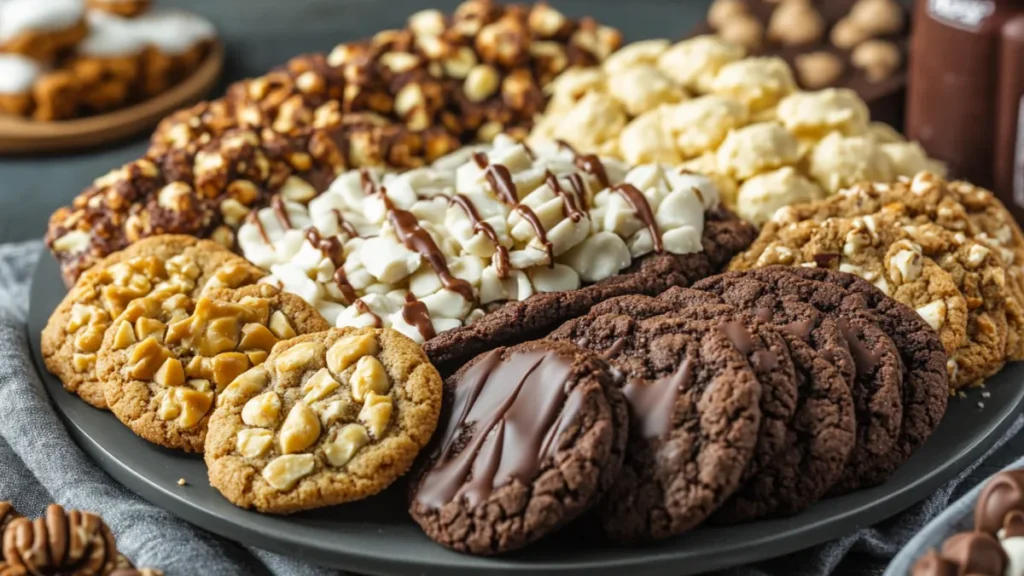
The beauty of the nestles chocolate chip cookie recipe is how adaptable it is. You can follow the original—or you can give it a little twist. Here are a few fun variations that will keep things exciting:
- Chopped nuts – Walnuts or pecans add crunch and richness.
- Caramel bits or soft toffee chunks – Melt into gooey pockets of sweet.
- White chocolate chips + macadamia nuts – A buttery, tropical vibe.
- Mini marshmallows + graham cracker crumbs – Think s’mores in cookie form!
Want more texture? Add crushed pretzels. Prefer something indulgent? Stuff the dough with chocolate truffles or peanut butter cups.

These tweaks turn the traditional into something personal and irresistible.
Gluten-Free, Vegan, and Healthier Tweaks
Craving cookies but have dietary needs? No problem. With a few smart swaps, the nestles chocolate chip cookie recipe can work for almost everyone.
Try these:
- Gluten-free flour – Use a 1:1 baking blend to keep structure without wheat.
- Vegan butter and flax eggs – Great dairy- and egg-free substitutes.
- Coconut sugar or monk fruit sweetener – Cut down on refined sugar.
- Almond flour blend – For a lower-carb twist (expect a softer texture).
While the flavor might shift a little, the joy of baking—and biting into a warm, chocolate-studded cookie—stays the same.
So don’t be afraid to experiment. Once you’ve mastered the classic, the nestles chocolate chip cookie recipe becomes your delicious playground.
Serving, Storing, and Freezing Your Cookies
Best Ways to Keep Cookies Soft and Fresh
So you’ve baked a big batch of cookies using the nestles chocolate chip cookie recipe—now what? If you want to keep that perfect soft-and-chewy texture, storage matters.
Here’s how to do it right:
- Cool cookies completely before storing. Trapped heat = soggy bottoms.
- Use an airtight container and layer cookies with parchment paper.
- Drop a slice of bread in the container—it keeps moisture balanced and cookies soft.
Store your cookies at room temperature for up to five days. They rarely last that long, though!
Want to reheat? Just pop a cookie in the microwave for 7–10 seconds, and it’s like it came straight from the oven.
How to Freeze Cookie Dough Like a Pro
If you love the nestles chocolate chip cookie recipe, make extra dough to freeze. It’s super easy and gives you fresh cookies anytime you want.
Here’s how:
- Roll dough into balls and place on a baking sheet.
- Freeze for 1–2 hours.
- Transfer to a zip-top freezer bag and label with the date.
Bake from frozen—no need to thaw! Just add 1–2 extra minutes to the baking time. That way, you can enjoy warm, gooey cookies anytime the craving hits.
Frequently Asked Questions
Why do my Nestlé chocolate chip cookies go flat?
Cookies often spread too much when the dough is too warm or the butter is overly soft. To fix this:
- Chill the dough before baking.
- Use room-temperature butter, not melted.
- Double-check your flour measurement—it matters more than you think.
Flat cookies are usually the result of fat melting faster than the dough can set. Small tweaks will help preserve the classic shape of the nestles chocolate chip cookie recipe.
How do you make Nestlé cookie dough taste better?
Want a flavor boost? You don’t have to change the entire nestles chocolate chip cookie recipe. Just add:
- A dash of cinnamon or espresso powder
- A pinch of sea salt on top before baking
- Higher-quality chocolate or chunks instead of chips
- Toasted nuts for extra richness
Little upgrades go a long way in bringing out bold, bakery-level flavor.
Should you refrigerate Toll House cookie dough before baking?
It’s not required, but it’s highly recommended. Chilling the dough enhances flavor, reduces spread, and improves texture. Letting it rest for 30–60 minutes—even overnight—gives you a thicker, chewier cookie. If you want the best result from your nestles chocolate chip cookie recipe, don’t skip the chill.
How do you bake Nestlé chocolate chip cookie dough?
To bake like a pro:
- Preheat your oven to 375°F (190°C).
- Scoop evenly sized dough balls.
- Bake for 9–11 minutes, just until the edges are golden.
Let the cookies cool for 2 minutes on the tray, then move them to a wire rack. You’ll get soft centers, crisp edges, and a true Toll House classic.

